목차
KVM - Wok / Kimchi HTML5 Web Manager
홈페이지 : https://github.com/kimchi-project/kimchi
Kimchi는 KVM을 위한 HTML5 기반 관리 도구입니다. 가능한 한 쉽게 KVM을 시작하고 첫 번째 게스트를 만들 수 있도록 설계되었습니다.
Kimchi는 Wok 플러그인 으로 실행됩니다.
Kimchi는 libvirt를 통해 KVM 게스트를 관리합니다. 관리 인터페이스는 HTML5를 지원하는 브라우저를 사용하여 웹을 통해 액세스 할 수 있습니다.
준비사항 (On CentOS 7)
CentOS 7은 이미 설치되어있다고 가정함
NetworkManager 중지
브릿지나 NAT 인터페이스를 새로 만들경우 NetworkManager와 충돌로 인해 정상동작하지 않을수 있으므로 NetworkManager 서비스를 비활성화 한다.
# systemctl disable NetworkManager
firewalld 중지
방화벽의 경우도 귀찮은경우가 있을수 있으므로 중지하도록 한다.
# systemctl disable firewalld
selinux 중지
실제 사용에는 상관 없으나 스토리지 설정등에서 귀찮은 경우 비활성화 할 수 있다.
# This file controls the state of SELinux on the system.
# SELINUX= can take one of these three values:
#     enforcing - SELinux security policy is enforced.
#     permissive - SELinux prints warnings instead of enforcing.
#     disabled - No SELinux policy is loaded.
SELINUX=disabled # <------ Disabled
# SELINUXTYPE= can take one of three two values:
#     targeted - Targeted processes are protected,
#     minimum - Modification of targeted policy. Only selected processes are protected.
#     mls - Multi Level Security protection.
SELINUXTYPE=targeted
EPEL 레포지토리 등록
EPEL 레포지토리 패키지가 필요하므로 등록하도록 한다.
# yum -y install https://dl.fedoraproject.org/pub/epel/epel-release-latest-7.noarch.rpm
시스템 업데이트(선택사항)
현재 시스템의 패키지를 최신으로 업데이트한다.
# yum -y update

# reboot
적용 후 리부팅하도록 한다.
Wok / Kimchi 설치
https://github.com/kimchi-project/kimchi
공식 사이트에 보면 릴리즈 페이지에 가장 최신버전으로 설치하도록 한다.
# yum install https://github.com/kimchi-project/kimchi/releases/download/2.5.0/wok-2.5.0-0.el7.centos.noarch.rpm
# yum install https://github.com/kimchi-project/kimchi/releases/download/2.5.0/kimchi-2.5.0-0.el7.centos.noarch.rpm
실행
# systemctl enable wokd
# systemctl start wokd
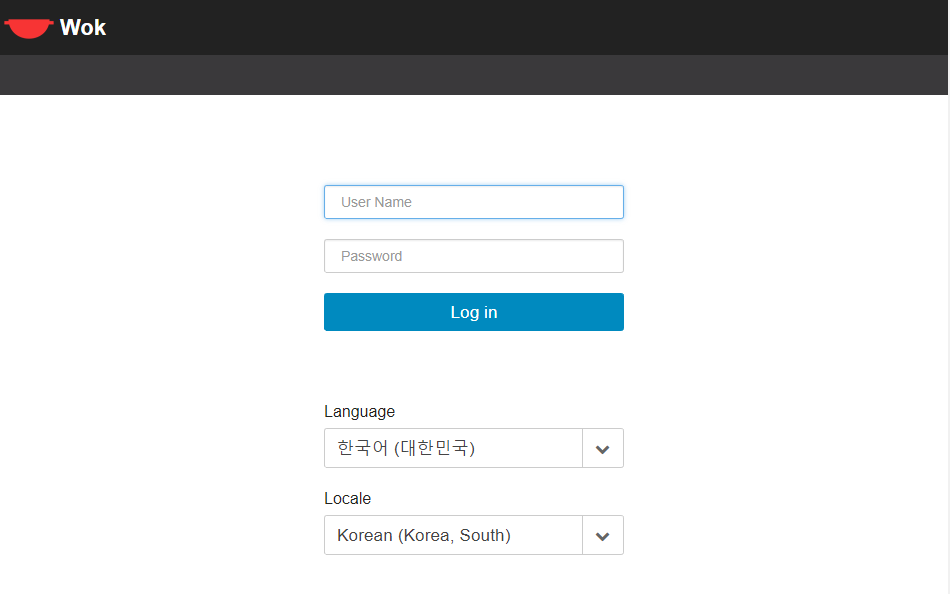
서비스를 실행하고 나면 https://hostname_or_ip:8001/ 사이트로 접속이 가능하며 아래와같은 화면이 나온다.
시스템 OS 계정으로 로그인하면 된다.
사용법
네트워크
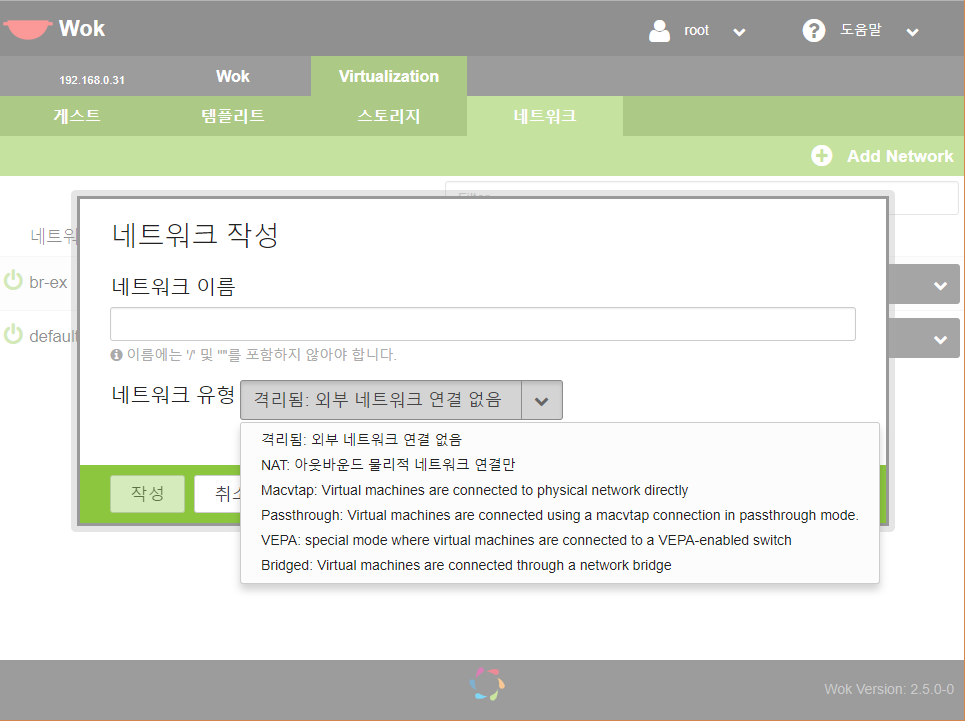
네트워크탭은 위의 사진처럼 KVM에서 설정 가능한 모든 네트워크 유형을 추가할 수 있으며 웹인터페이스로 설정 가능하다.
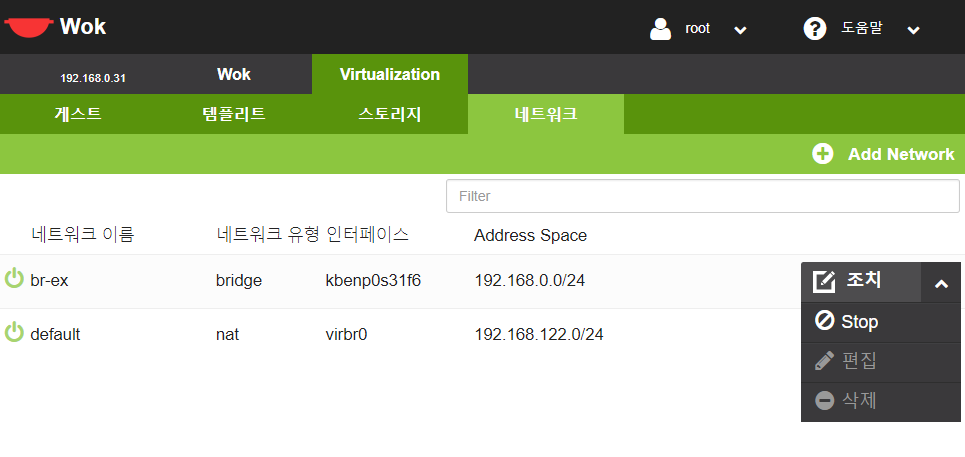
이와같이 추가한 인터페이스를 Start, Stop 명령을 통해 활성화 할 수 있다.
스토리지
템플리트
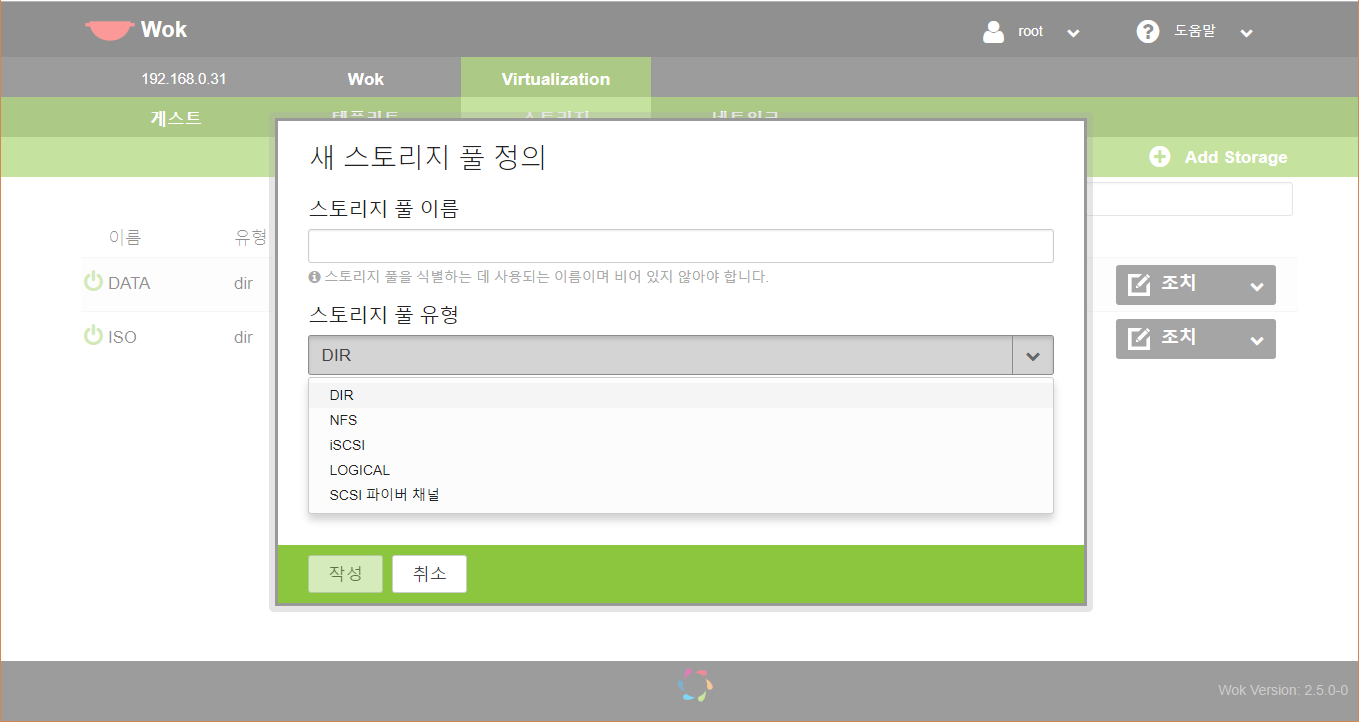
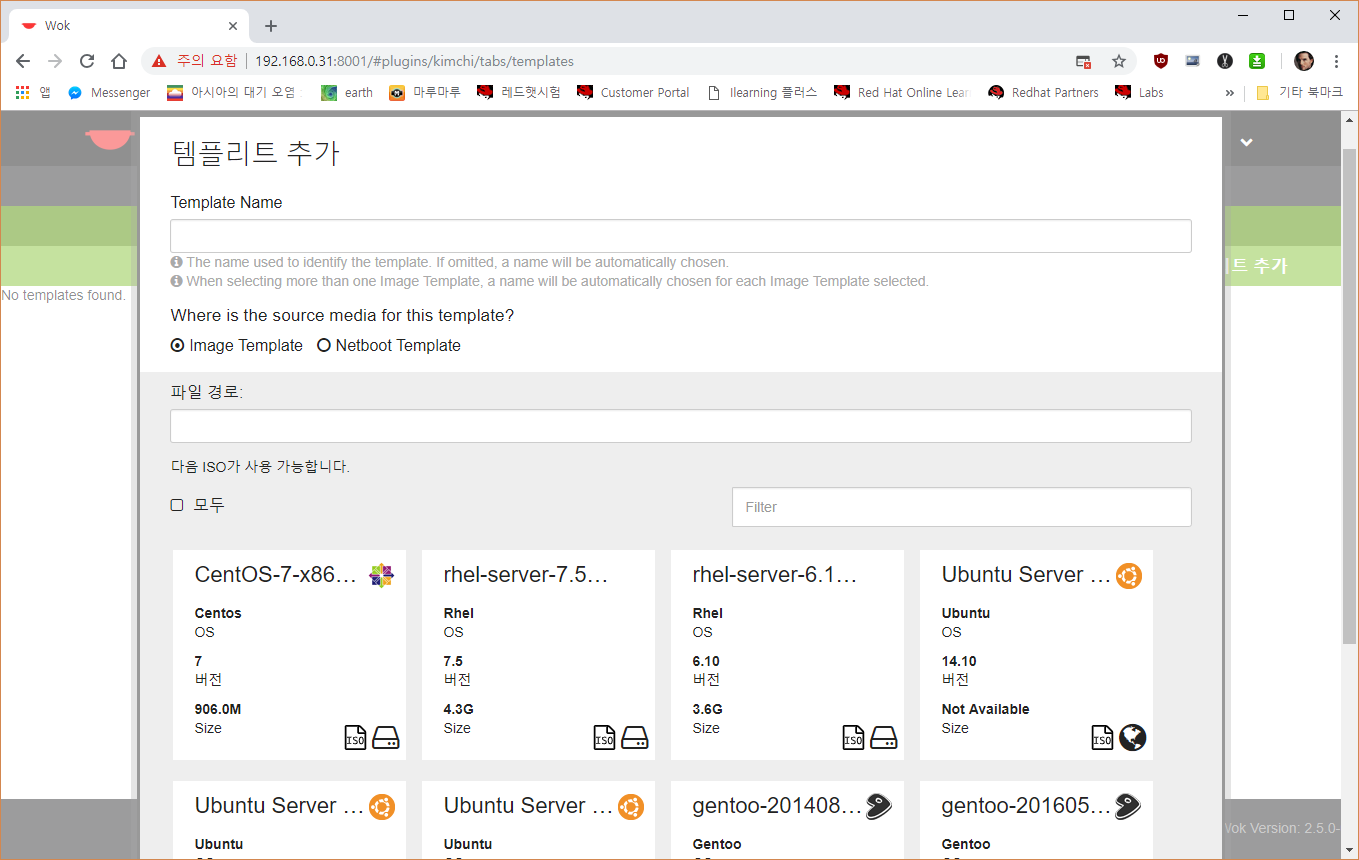
템플릿은 기본적으로 VM생성시 미리 설정된 값을 의미한다. 기본적으로 우분투 이미지를 제공하고 스토리지 탭에서 설정된 스토리지 영역에 있는 ISO파일들 검색해서 아래쪽에 목록으로 나타난다.
템플릿 생성시 네트워크와 스토리지는 반드시 default로 선언된 항목이 있어야 한다. 기본적으로 default로 선택이 되기 때문에 default항목이 없는 네트워크나 스토리지는 설정이 불가능하다.
Session timeout 설정
기본적으로 wok은 세션 유지시간이 10분으로 되어있어서 다른 작업을 하다보면 관리자 페이지에서 로그아웃 되어있는 경우가 많다.
해당 시간을 길게 잡아주기 위해서는 /etc/wok/wok.conf내의 session_timeout 옵션을 변경하도록 한다.
[server]
# Start an SSL-enabled server on the given port
#proxy_port = 8001

# Cherrypy server port
#cherrypy_port = 8010

# Port for websocket proxy to listen on
#websockets_port = 64667

# Number of minutes that a session can remain idle before the server
# terminates it automatically.
session_timeout = 360            # <<-- 이부분을 수정한다. (단위:분)

# Running environment of the server
#environment = production

# Max request body size in KB, default value is 4GB
#max_body_size = 4 * 1024 * 1024

# Wok server root. Set the following variable to configure any relative path to
# the server. For example, to have Wok pointing to https://localhost:8001/wok/
# uncomment the following:
#server_root=/wok

# Federation feature: register Wok server on openSLP and discover peers
# in the same network. Check README-federation for more details.
#federation = off
수정 후 wokd 를 재시작 한다.
$ systemctl restart wokd.service
버그
2.5 해당 버전의 버그가 있는데 디스크 추가 시에 용량 설정이 KBytes단위로 입력이 된다. 웹UI에서는 GBytes 단위라고 되어있는데 실제로는 KBytes 단위로 입력이 되기 때문에 주의해야 한다.
해당 부분 수정은 /usr/share/wok/plugins/kimchi/ui/js/kimchi.min.js의 4387 line을 수정하도록 한다.
                    var sizeInMB = parseInt(settings['capacity']) * 1024 * 1024;
                    var sizeInGB = sizeInMB * 1024;
                    settings['capacity'] = sizeInGB;
